Glaze Basics: Mixing, Testing, and Achieving Results
Glazing doesn't have to be mysterious. Learn how glazes work, how to mix from recipes, and what to expect when your pieces come out of the kiln.
What Is Glaze, Really?
Glaze is basically glass. It's made from raw materials—silica, feldspar, clay, and colorants—that melt together in the kiln and fuse to your pottery. The heat transforms powder into a smooth, sealed surface. Sounds complicated, but it's not once you understand the fundamentals.
You'll find that glazing works differently at different temperatures. Cone 6 (around 1222°C) produces different results than cone 10 (around 1305°C). Your kiln temperature matters. So does your clay body. A stoneware clay fires hotter and accepts glaze differently than earthenware. These details actually matter when you're mixing and testing.
Mixing Glazes from Recipes
Most potters start with published glaze recipes. You'll find them in books, on pottery websites, or from your local pottery studio. These recipes are given in percentages by weight, not volume. That's important—if you eyeball it, you'll get inconsistent results every time.
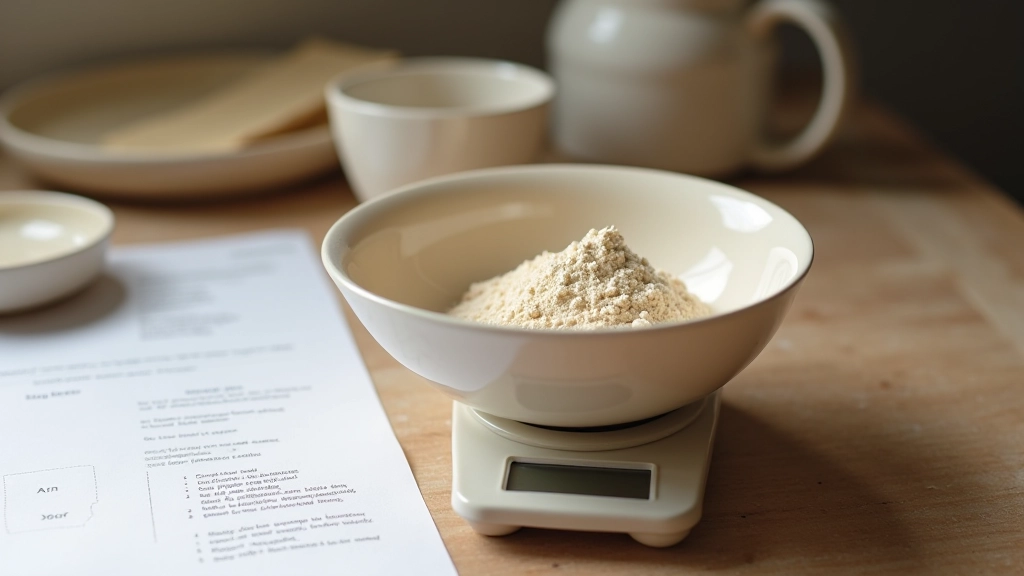
1
Weigh Everything
Use a kitchen scale accurate to 0.1g. If a recipe calls for 25% feldspar and you're making 1kg of glaze, you need 250g exactly. No guessing. Digital scales cost £15–30 and will save you weeks of trial-and-error.
2
Mix with Water
Add your dry ingredients to a bucket with water. The consistency should be like thin cream—pourable but not watery. You're aiming for specific gravity around 1.45–1.5. If you're serious, grab a hydrometer (£5–8) to check.
3
Sieve and Rest
Push the mixture through a 60–80 mesh sieve to remove lumps and aerate it. Let it settle overnight. This prevents settling during application and gives you smoother coverage on your pieces.
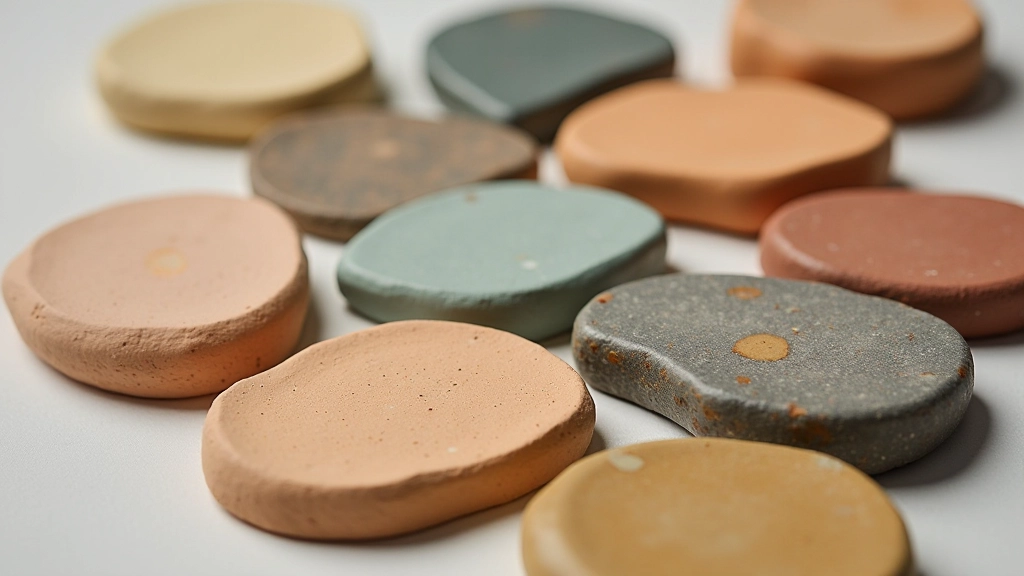
Testing Before You Commit
Never fire a new glaze on finished work. Ever. Test tiles are your safety net. You'll need ceramic tiles (2–3 inches square), a way to label them, and a willingness to wait through a full kiln cycle. Most studios have test tiles lying around—ask if you can use them.
Apply glaze at the same thickness you'd use on actual pots. If you're dipping, dip the tile. If you're brushing, brush it. The application method changes how glaze behaves. A brushed glaze can look totally different from a dipped one, even with the same recipe.
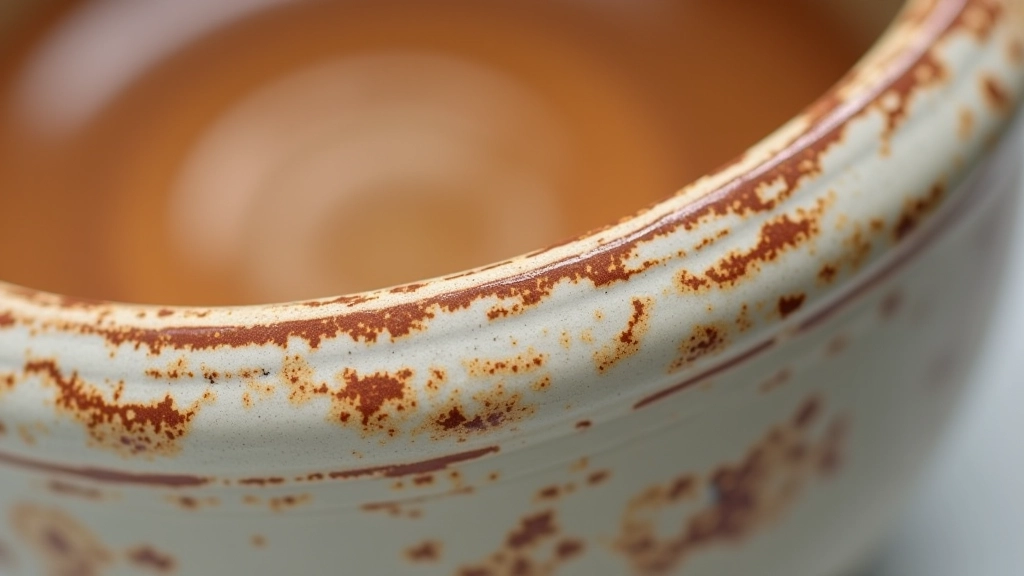
Fire the test tiles alongside your actual work. Watch what happens. Does the glaze melt completely or stay matte? Does it break on edges to show the clay body underneath? Does it move during firing and pool in the bottom of the kiln? These observations tell you whether the glaze is ready for your finished pieces.
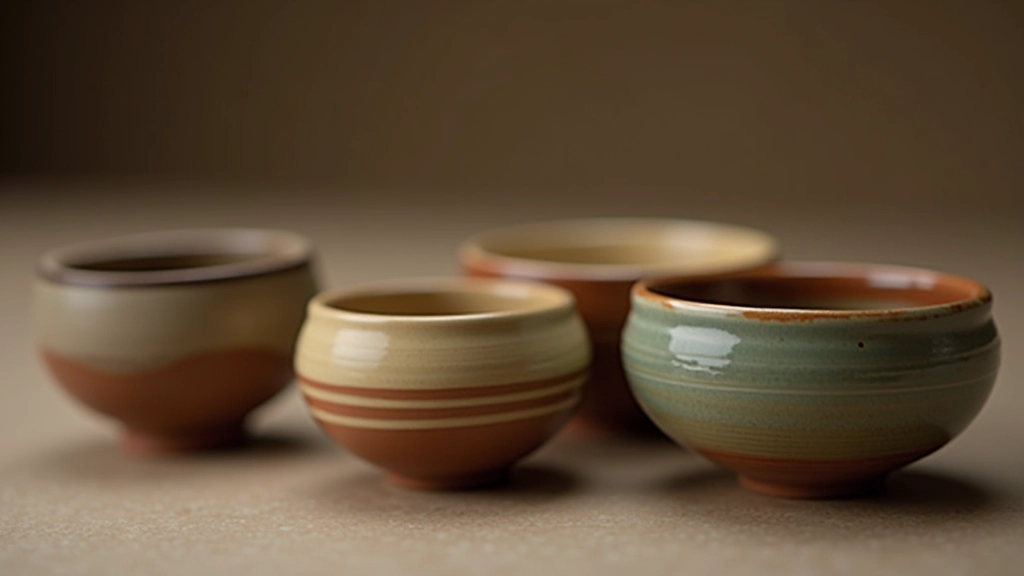
Understanding Your Results
When your pieces come out of the kiln, you'll see variations you didn't expect. That's normal. The clay body shows through at edges and high spots. Colors are richer where the glaze pooled thicker. Matte and glossy areas exist side by side. These aren't failures—they're part of the process.
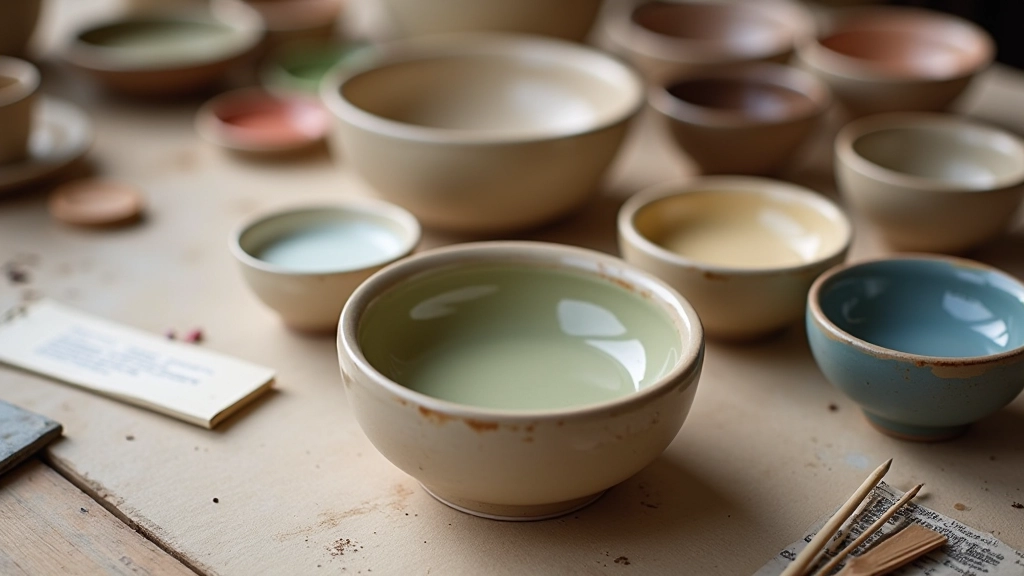
Matte Glazes
Don't fully melt. They stay dry-looking and catch light differently. Perfect for functional ware that shouldn't be slippery. Often contain more clay and less flux.
Glossy Glazes
Melt completely and seal the clay body. They're food-safe once properly fired. Higher flux content helps them flow and create that smooth, reflective surface.
Crystalline Glazes
Develop crystal formations as they cool. Unpredictable and beautiful. They require specific cooling rates and recipes designed for crystal growth.
Practical Tips for Success
Keep Records
Write down every glaze you test. Recipe name, mixing date, application method, firing temperature, and results. After a few firings, you'll spot patterns. One kiln fires hotter than another. Your hand-dipped glaze is thicker than brushed. Data beats guessing.
Thickness Matters
The thickness of your glaze application directly affects how it fires. Too thin and colors look pale. Too thick and glazes run off pots or crawl. Most glazes want 1–2mm of coverage. Learn this by doing multiple test tiles at different thicknesses.
Know Your Kiln
Every kiln has hot spots and cool spots. The top may fire cone 10 while the bottom fires cone 9. Use witness cones to map your kiln's behavior. Place them throughout and note the results. This single step eliminates most glaze failures.
Adjust Recipes
Once you understand a recipe, you can tweak it. Change 5% of one material to shift color or texture. Keep notes of what changed and what happened. Small adjustments teach you how glazes work.
Test on Your Clay
Different clay bodies accept glaze differently. Test tiles are helpful, but test your glaze on actual pieces made from the clay you use. This reveals whether the combination truly works.
Trust the Process
Your first glazes won't be perfect. That's fine. Each firing teaches you something. Glazing is a skill that builds over months and years. You're not just following recipes—you're learning how materials behave.
Ready to Glaze?
Glazing doesn't require expensive equipment or years of chemistry knowledge. You need a scale, some raw materials, a recipe you trust, and the willingness to test before you commit. Start simple—pick one glaze recipe that interests you, mix it carefully, test it on tiles, and fire a small batch. Watch what happens. Learn from the results. Adjust and try again.
The satisfaction of pulling pieces from the kiln and seeing exactly the color and finish you aimed for—that's worth the time spent testing. You'll develop your own preferences. Some potters love glossy surfaces. Others prefer matte. Some chase crystalline effects. Your path through glazing will be yours alone. Start today.
Educational Disclaimer
This article is informational and educational in nature. The techniques and approaches described reflect common pottery practices, but individual results may vary based on your equipment, materials, clay type, and kiln conditions. Always follow safety guidelines when handling raw materials and firing kilns. Consult your pottery instructor or studio manager if you're unsure about any technique or material.

Related Articles